Leash CodeHS Answers: JavaScript Code and Easy Explanation
Learn how the CodeHS Leash exercise works, understand its JavaScript code, and fix common problems with mouse movement and graphics.

Introduction
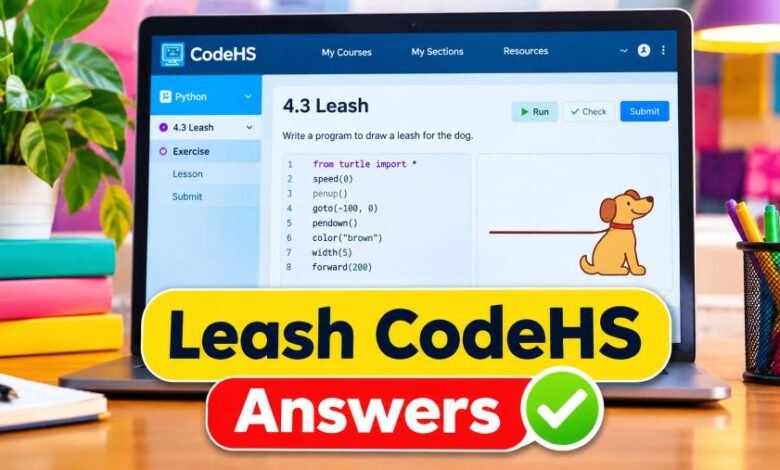
Searching for Leash CodeHS answers? You probably have a coding exercise where a ball moves with your mouse while a line stays connected to it.
It sounds simple. But getting everything to move correctly can be confusing when you’re new to JavaScript.
The good news? You don’t need complicated programming skills.
This guide covers the Leash exercise, the code behind it, the steps to make it work, and the mistakes that often stop students from completing their programs.
Quick Facts About Leash CodeHS
| Detail | Information |
|---|---|
| Exercise name | Leash |
| Learning platform | CodeHS |
| Programming language | JavaScript |
| Common exercise number | 9.7.4 |
| Course section | Animation and Games |
| Lesson | Drawing Lines |
| Main programming concepts | Graphics and mouse events |
| Common graphics objects | Circle and Line |
| Main event method | mouseMoveMethod() |
| Difficulty | Beginner |
| Main learning goal | Update graphics using mouse coordinates |
What Is the Leash Exercise in CodeHS?
Leash is a JavaScript graphics exercise found in several CodeHS courses.
In the commonly described version, students create a circle connected to a line. The circle follows the mouse pointer while the line stretches between the circle and a fixed position on the canvas.
Think of a ball attached to a string.
When you move the ball, the string moves with it. One end stays in place while the other follows the ball.
The programming version works in a similar way.
Students practise three important skills: creating graphics, detecting mouse movement, and updating the positions of existing objects.
The exact instructions can differ between CodeHS course versions, so always check the requirements displayed in your assignment.
Leash CodeHS Answers: JavaScript Example
Let’s look at an example that demonstrates the main idea.
The following code is written for the CodeHS JavaScript Graphics environment. It creates a yellow circle and a black line, with both responding to the mouse pointer.
Example code:
var ball;
var leash;

function start() {
    var centerX = getWidth() / 2;
    var centerY = getHeight() / 2;

    leash = new Line(
        centerX,
        centerY,
        centerX,
        centerY
    );

    leash.setColor(Color.black);
    leash.setLineWidth(3);
    add(leash);

    ball = new Circle(20);
    ball.setPosition(centerX, centerY);
    ball.setColor(Color.yellow);
    add(ball);

    mouseMoveMethod(moveLeash);
}

function moveLeash(e) {
    var x = e.getX();
    var y = e.getY();

    ball.setPosition(x, y);
    leash.setEndpoint(x, y);
}
This is an educational example, not a verified official CodeHS answer key. Your assignment may require specific dimensions, colors, positions, or additional rules.
How Does the Leash Code Work?
The code becomes easier to understand when you separate its different jobs.
1. Creating the Graphics Objects
The program starts by declaring two variables:
var ball;
var leash;
These variables store the graphics objects.
They are declared outside the functions so both the setup code and the mouse movement function can access them.
Without shared references, updating the correct objects becomes harder.
2. Finding the Canvas Center
The next step calculates the center of the drawing area.
getWidth() gives the canvas width, while getHeight() gives its height.
Dividing each value by two produces the center coordinates.
This lets the program position the ball and the fixed end of the line without guessing the canvas size.
3. Drawing the Line
The Line() constructor creates a line using four coordinates.
The first two values represent its starting point. The final two represent its endpoint.
In this example, both endpoints initially have the same coordinates, so the line starts with no visible length.
When the mouse moves, the endpoint changes.
The starting position stays fixed.
4. Creating the Circle
The statement new Circle(20) creates a circle with a radius of 20 pixels.
The setPosition() method places its center at the selected coordinates.
After setting the color, add(ball) displays it on the graphics canvas.
Notice something important: the circle is created only once.
The program moves that existing circle instead of creating hundreds of new ones.
5. Detecting Mouse Movement
The statement mouseMoveMethod(moveLeash); connects mouse movement to the moveLeash() function.
Whenever the pointer moves over the canvas, the registered function receives a mouse event.
This event contains the pointer’s position.
The program reads the coordinates using e.getX() and e.getY().
6. Moving the Ball and Leash
Inside the mouse movement function, two statements do most of the work.
ball.setPosition(x, y);
leash.setEndpoint(x, y);
The first moves the circle to the mouse coordinates.
The second changes the line’s endpoint to those same coordinates.
The result is a connected ball and line that respond together.
How to Complete the Leash CodeHS Exercise
Before writing your final program, follow this practical process.
Step 1: Read the Instructions
Check what your version requires.
Pay attention to circle size, color, starting position, line thickness, and mouse behavior.
A program can look correct while still missing an assignment requirement.
Step 2: Create the Circle
Start with a basic circle.
Set its radius, color, and position. Run the program and check whether the circle appears.
If it doesn’t, inspect your object declaration and add() statement.
Step 3: Add the Line
Create the line with the required start and end coordinates.
Make sure it appears on the canvas when the endpoints differ.
Step 4: Register the Mouse Event
Use mouseMoveMethod() to connect your mouse handler.
Remember to pass the function name without parentheses.
Step 5: Update the Coordinates
Read the mouse’s horizontal and vertical positions.
Use them to reposition the circle and the line’s moving endpoint.
Step 6: Test the Program
Move your pointer around the canvas.
Check whether the circle follows it and whether the line stays connected to the circle.
Test different corners and positions rather than moving the mouse in only one direction.
Common Leash CodeHS Errors and Fixes
Small mistakes can stop an otherwise correct JavaScript program.
| Problem | Possible cause | Suggested fix |
|---|---|---|
| Ball doesn’t move | Mouse event not registered | Check mouseMoveMethod() |
| Line doesn’t follow | Endpoint never updates | Use setEndpoint() |
| Nothing appears | Objects not added | Check add() statements |
| Program shows an error | Incorrect variable name | Check spelling and scope |
| Circle is offset from cursor | Incorrect coordinate adjustment | Use the event coordinates directly |
| Too many circles appear | New objects created during movement | Create objects once |
| Assignment doesn’t pass | Instructions not fully matched | Recheck all requirements |
One particularly common mistake is confusing the line’s starting point with its endpoint.
If you change the wrong point, the line may move away from its intended anchor.
Another issue involves circle positioning. In CodeHS JavaScript Graphics, setPosition() places the center of a circle at the specified coordinates.
You normally don’t need to subtract the circle’s radius when making it follow the mouse pointer.
Why Does Leash CodeHS Work in the Editor but Fail a Check?
A program that looks right isn’t always a program that meets every instruction.
For example, a teacher’s assignment might require a particular radius or starting location.
Your graphics may still appear and move correctly even when those details don’t match.
Check the assignment instructions line by line.
Compare required graphics objects, dimensions, colors, coordinates, and event behavior.
If the exercise includes an automated checker, use its feedback to identify which requirement needs attention.
Skills Students Learn From This Exercise
Leash teaches more than how to draw a line.
It introduces event-driven programming, where code reacts to user actions instead of running through a fixed sequence alone.
That concept appears throughout interactive applications.
Mouse events help programmers build drawing tools, games, and other interfaces.
Working with persistent graphics objects also teaches an important habit: when something already exists, update it instead of creating an unnecessary replacement.
Once you understand that pattern, later graphics exercises become much easier to approach.
Should You Copy Leash CodeHS Answers?
Looking at example code can help when you’re stuck.
But copying code without understanding it has two problems.
First, different course versions may have different requirements. A solution written for one version might not pass another.
Second, you miss the opportunity to understand the methods you’ll need again.
A better approach is to study each statement, test the program, and make sure you can explain why it works.
Follow your school’s rules about using outside programming assistance.
Final Thought
Leash CodeHS answers become much easier to understand once you know how the graphics objects work together.
A circle moves to the pointer’s position. A line changes its endpoint to match. The fixed endpoint stays where it started.
That’s the basic idea.
The most useful skill is learning how mouse events control existing graphics objects. Once you understand that connection, you can use it in other JavaScript programs.
Frequently Asked Questions
1. What are Leash CodeHS answers?
They refer to solutions and explanations for a CodeHS exercise called Leash. In a commonly described version, students create a circle connected to a line that responds to mouse movement.
2. What is 9.7.4 Leash in CodeHS?
It is an exercise listed in the Drawing Lines lesson of the Introduction to Computer Science in JavaScript course. Other CodeHS courses may number Leash differently.
3. Which programming language is used for Leash?
The exercise discussed here uses JavaScript with the CodeHS Graphics library.
4. How do you make the ball follow the mouse?
Register a mouse movement handler using mouseMoveMethod(). Inside the handler, use the event coordinates with the circle’s setPosition() method.
5. What does setEndpoint() do?
The setEndpoint() method changes the ending coordinates of an existing line without changing its starting point.
6. Why is my Leash CodeHS code not working?
Possible causes include an unregistered mouse handler, incorrect variable names, missing graphics objects, or failure to update the line’s endpoint.
7. Can I use Leash CodeHS example answers for practice?
Yes. Example code can help you understand graphics and mouse events. Make sure you follow your class rules and the requirements of your specific assignment.
8. Is Leash a difficult CodeHS exercise?
Leash covers beginner-level graphics concepts, but it can feel challenging when you’re learning mouse events for the first time. Breaking the program into small parts makes it easier to debug.